
![]() You can install Exton|Defender Build 231212/231109 to a USB stick with persistence in two ways!
You can install Exton|Defender Build 231212/231109 to a USB stick with persistence in two ways!
I.e. all your system changes will be saved directly on the USB stick. Even big system upgrades! That will make it unnecessary to install Exton|Defender to hard drive (which can be a bit tricky). Just run the System from a big enough USB stick and be happy! Do it like this:
A) A normal installation using Refracta Installer
1. Use a USB stick of 16GB or more. Install Exton|Defender to it using Rufus 4.3 in Windows. Start up Exton|Defender on the USB stick from RAM in Legacy mode.
2. Eject the USB stick and insert another USB stick of 16GB or more. In the example below I’m using a USB stick of 32GB.
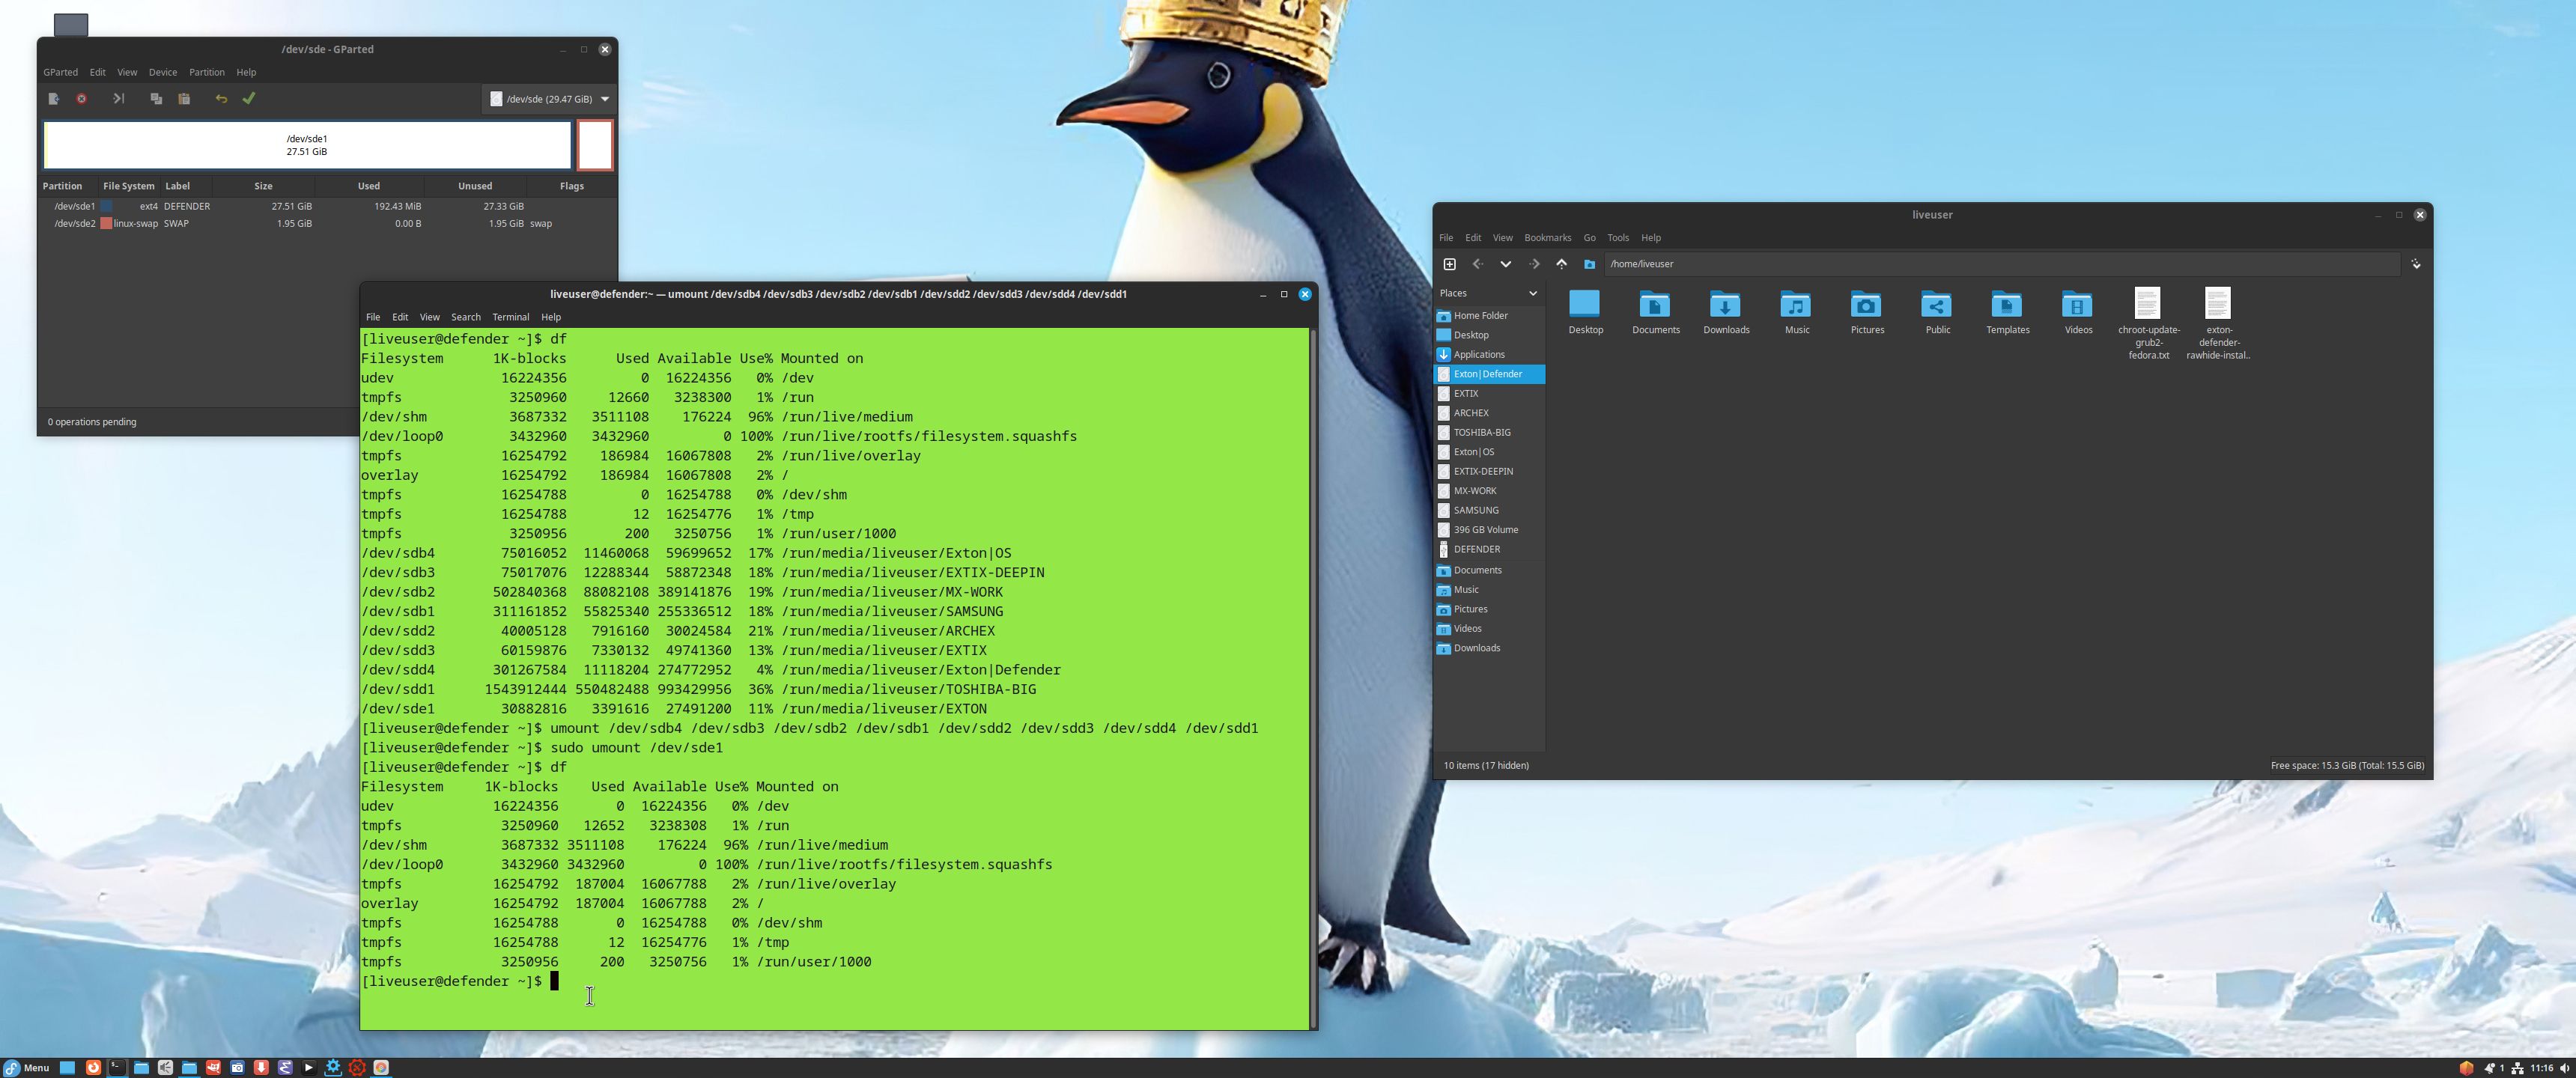
3. Format the USB stick with GParted (pre-installed in Exton|Defender) so you will have an install partition of 14GB/30GB and a SWAP partition of 2GB – watch this screenshot…
4. Start Refracta Installer from the menu and choose to install to your formatted USB stick. In my example it is called /dev/sde1. Yours can be called /dev/sdb1 or…
Check it carefully to avoid data losses!
5. Follow the instructions given by Refracta Installer. It is pretty straightforward.
6. When asked about Grub choose to chroot and install Grub to /dev/sde – watch this screenshot…
6b. So the Grub install commands to run is grub2-install /dev/sde (not /dev/sde1) followed by grub2-mkconfig -o /boot/grub2/grub.cfg
7. Exit from chroot. You will then be asked about creating a user and passwords for the user and root before everything is ready.
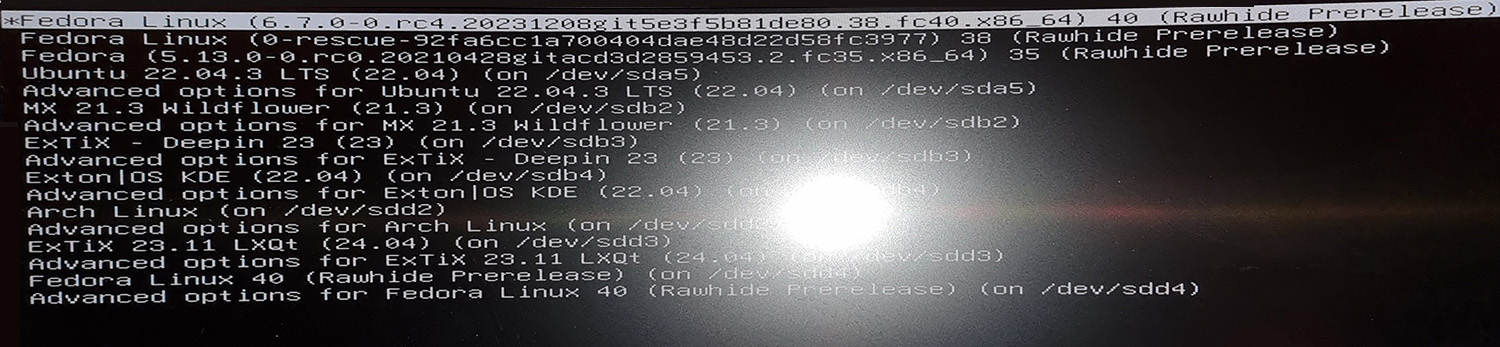
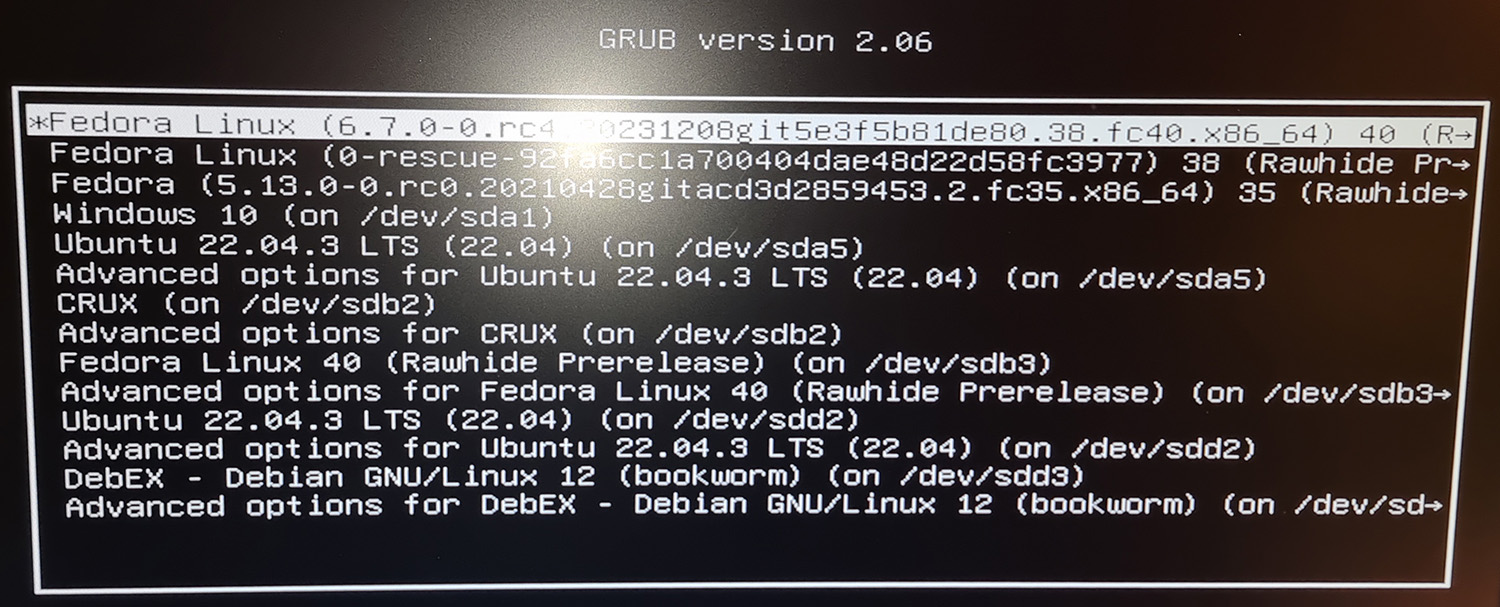
8. Reboot your computer with the USB stick in place. If you have other Linux systems installed on your computer you will see that Refracta Installer has added start lines for them too in the Grub menu – watch this screenshot…
(As you can see I have more than seven (7) Linux Systems installed on the computer I used for this demo).
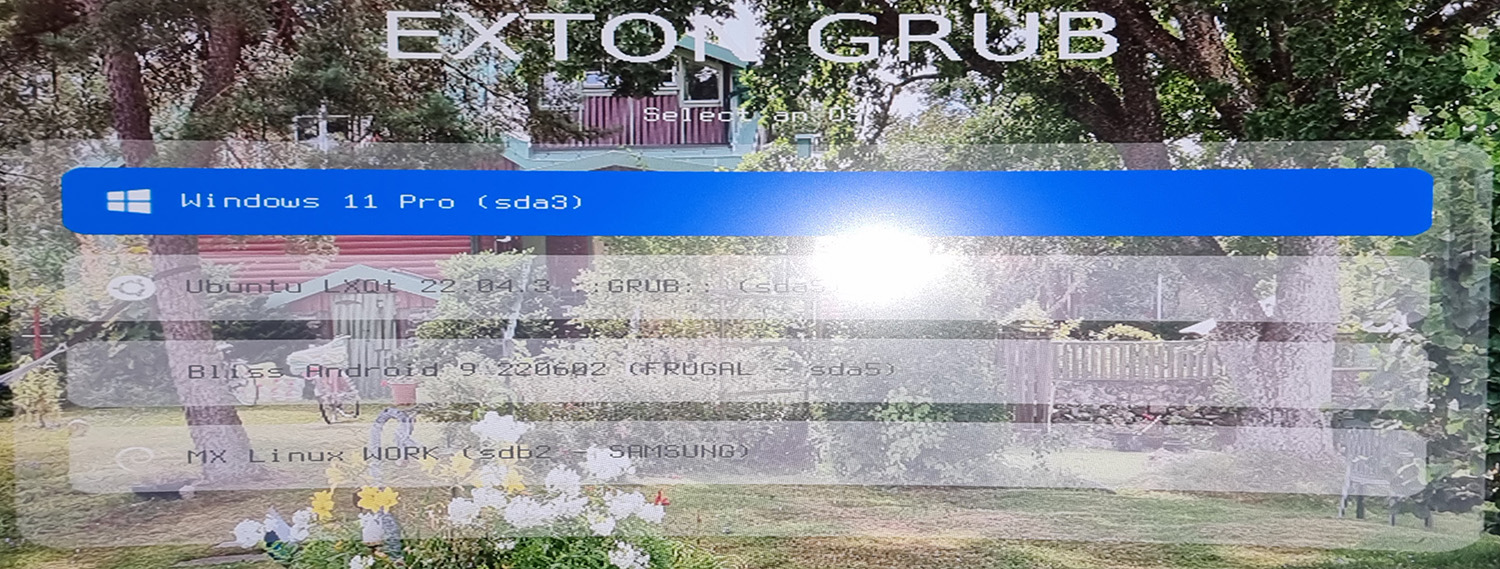
9. When I rebooted again and removed the USB stick I (of course) got back my “normal” UEFI Grub menu – watch this screenshot…
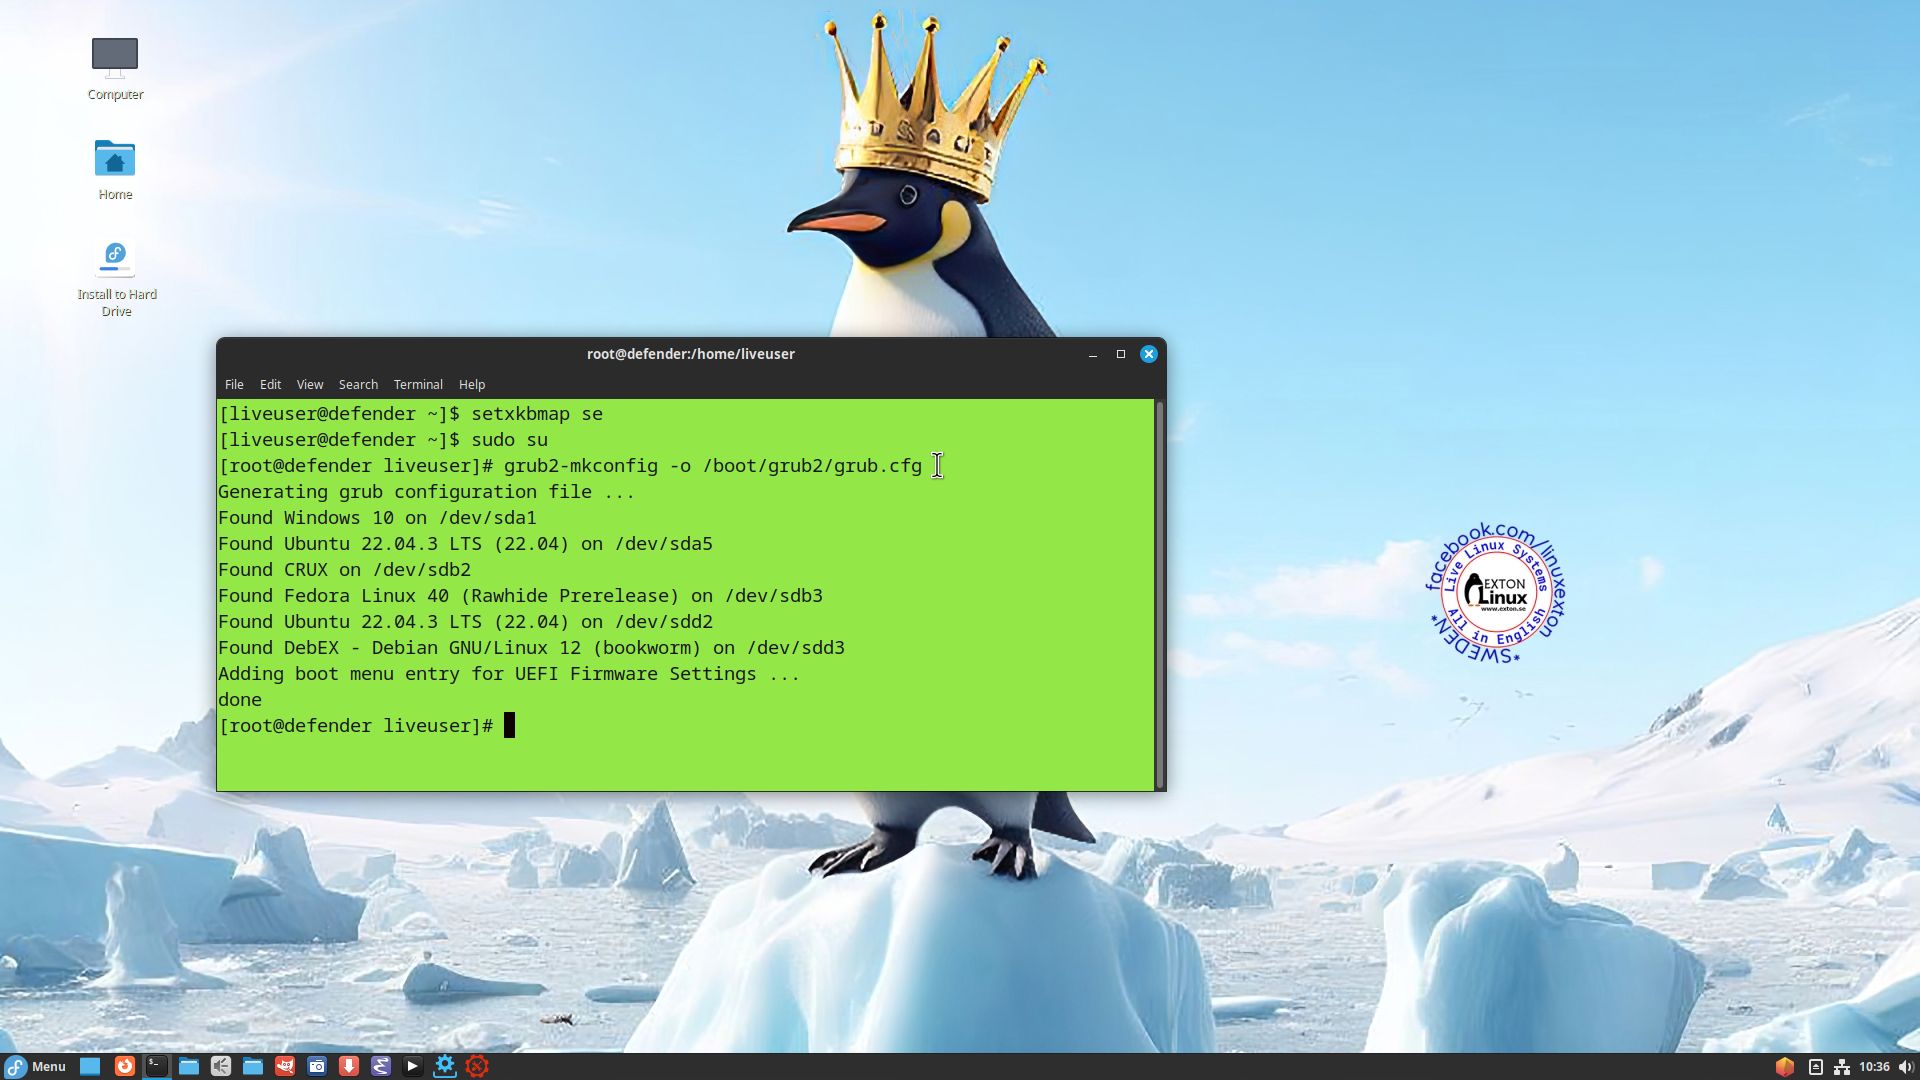
10. You can run your USB stick created with Refracta Installer on any other computer, but you can then of course only start Fedora 40/Exton|Defender. If you want to be able to boot also other Linux Systems you may have installed on the “new” computer you’ll have to create a new Grub boot menu. That is done as root with the command grub2-mkconfig -o /boot/grub2/grub.cfg – watch this screenshot…
11. After a reboot your new USB Grub boot menu will be changed – watch this screenshot and compare it with this screenshot…
12. Note that you will run kernel 6.7-rc4 from the USB stick! After an upgrade with sudo dnf upgrade you will get the latest available kernel (as of 231214), which is 6.7-rc5!
B) Installing Exton|Defender to a USB stick in Windows
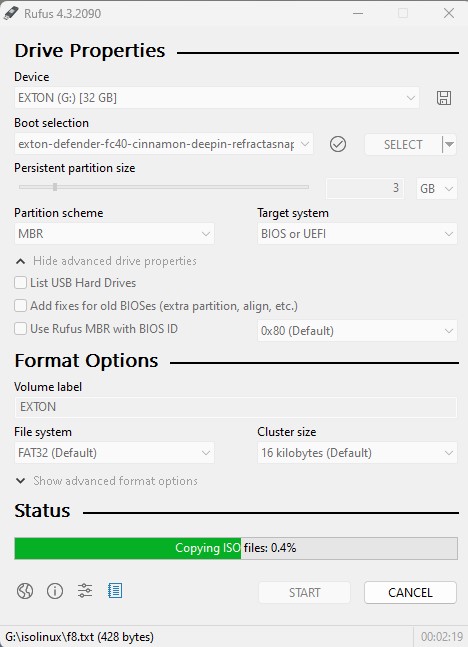
1. Use Rufus 4.3 for the installation.
2. Set a Persistent partition size of about 3GB (or bigger!) before you start the installation. Watch this screenshot…
3. Run Exton|Defender from your created USB stick. Be sure boot up the System in Legacy mode. You can run the System also in UEFI mode, but unfortunately persistence won’t be enabled then.
4. Test run Exton|Defender and change some things. For example new bookmarks in Firefox. Reboot!
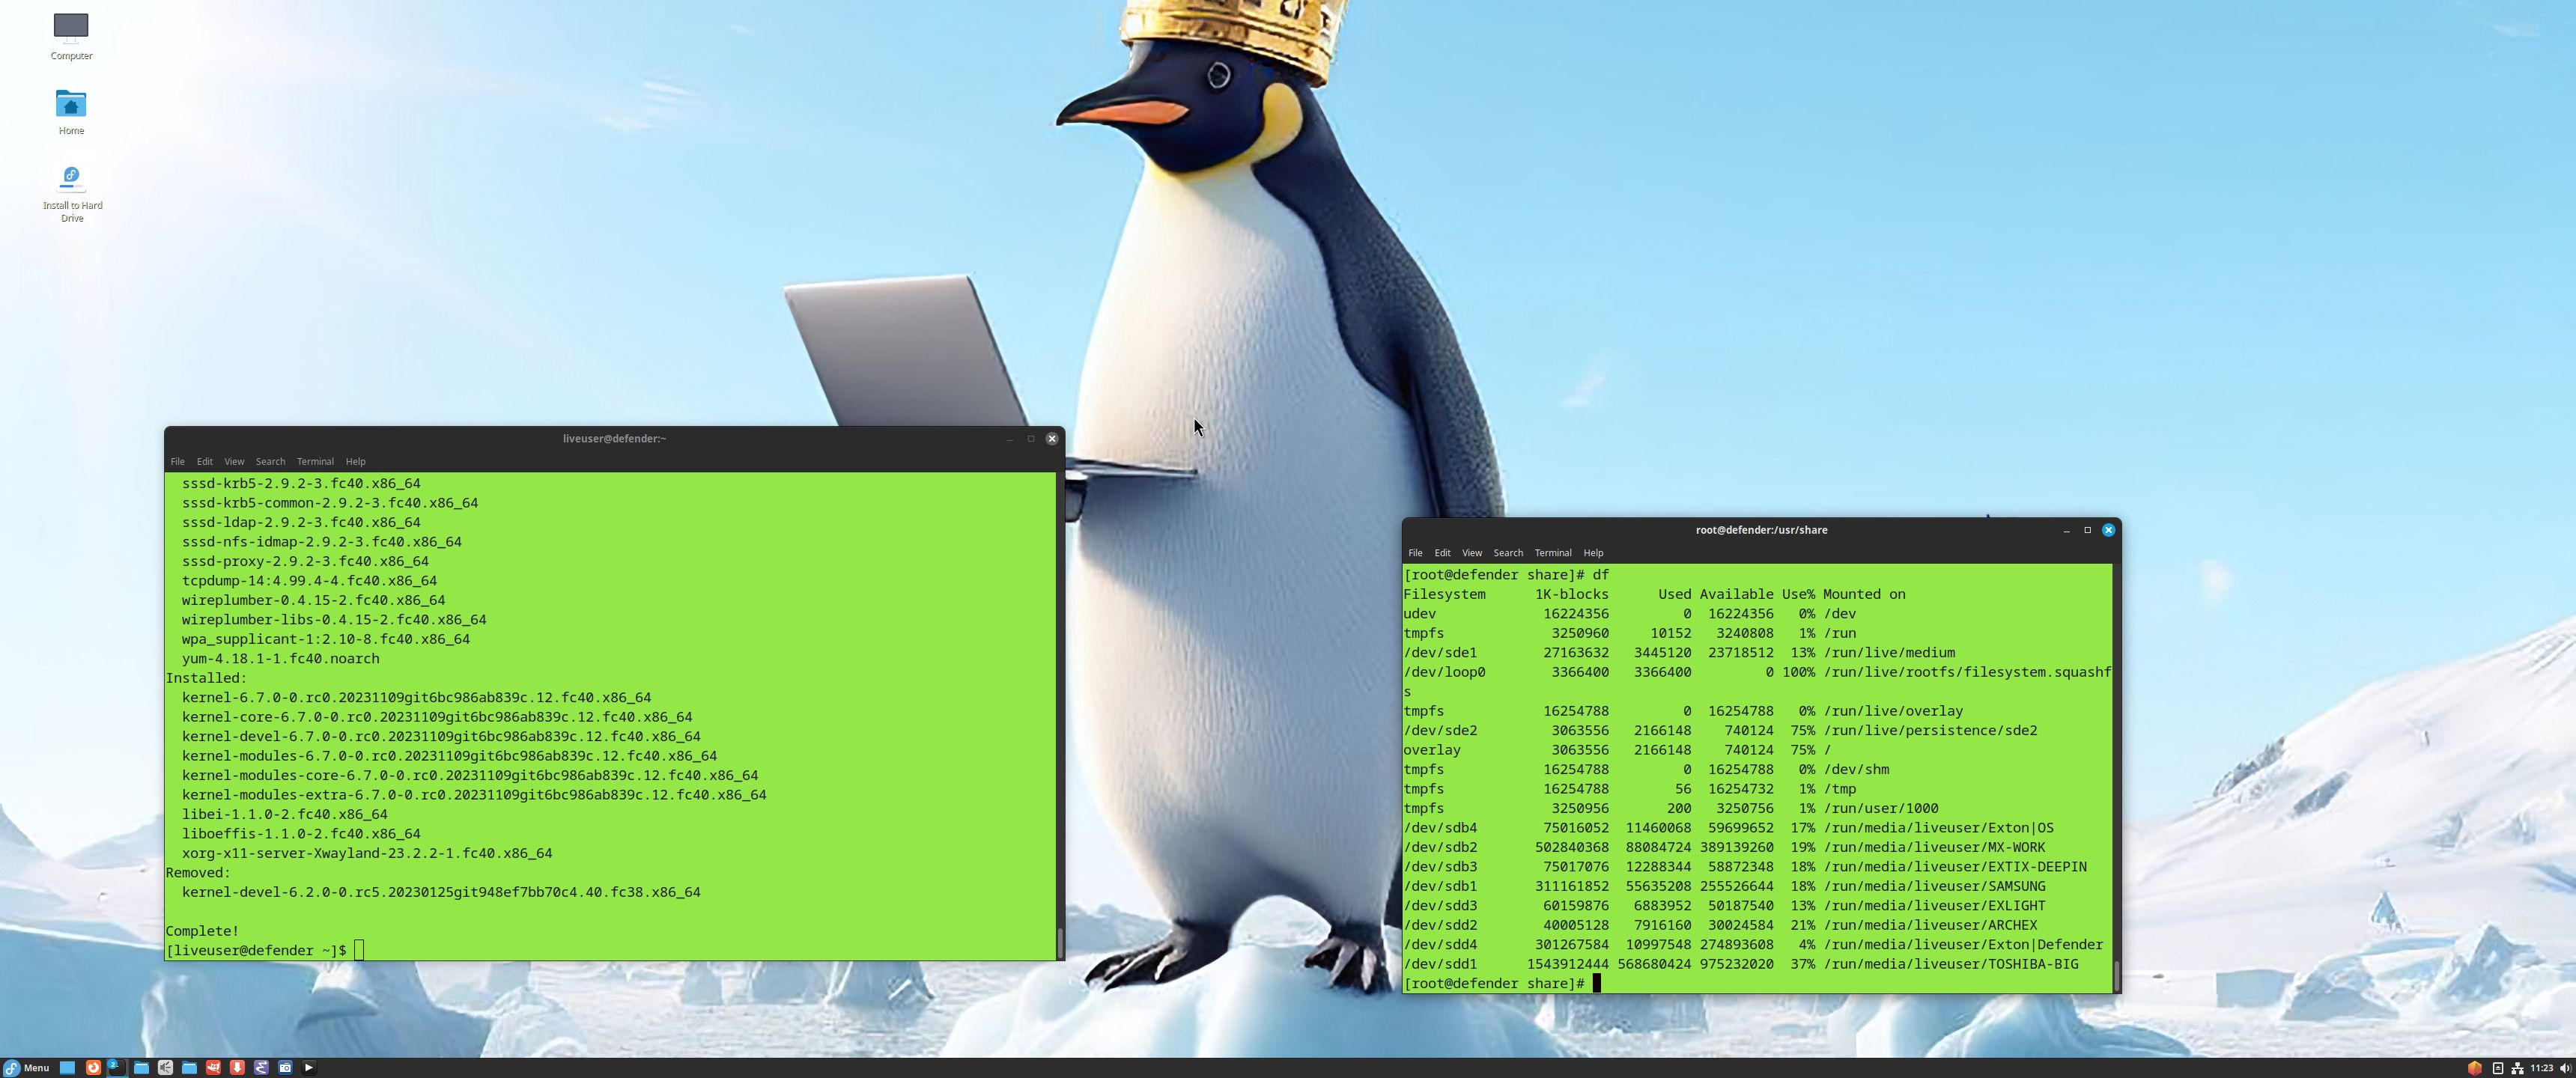
5. You changes should be left if you have done what I said above. Now you can upgrade the whole system with “sudo dnf upgrade ‐‐refresh”. About 230 packages can be upgraded as of 231111. Watch this screenshot…
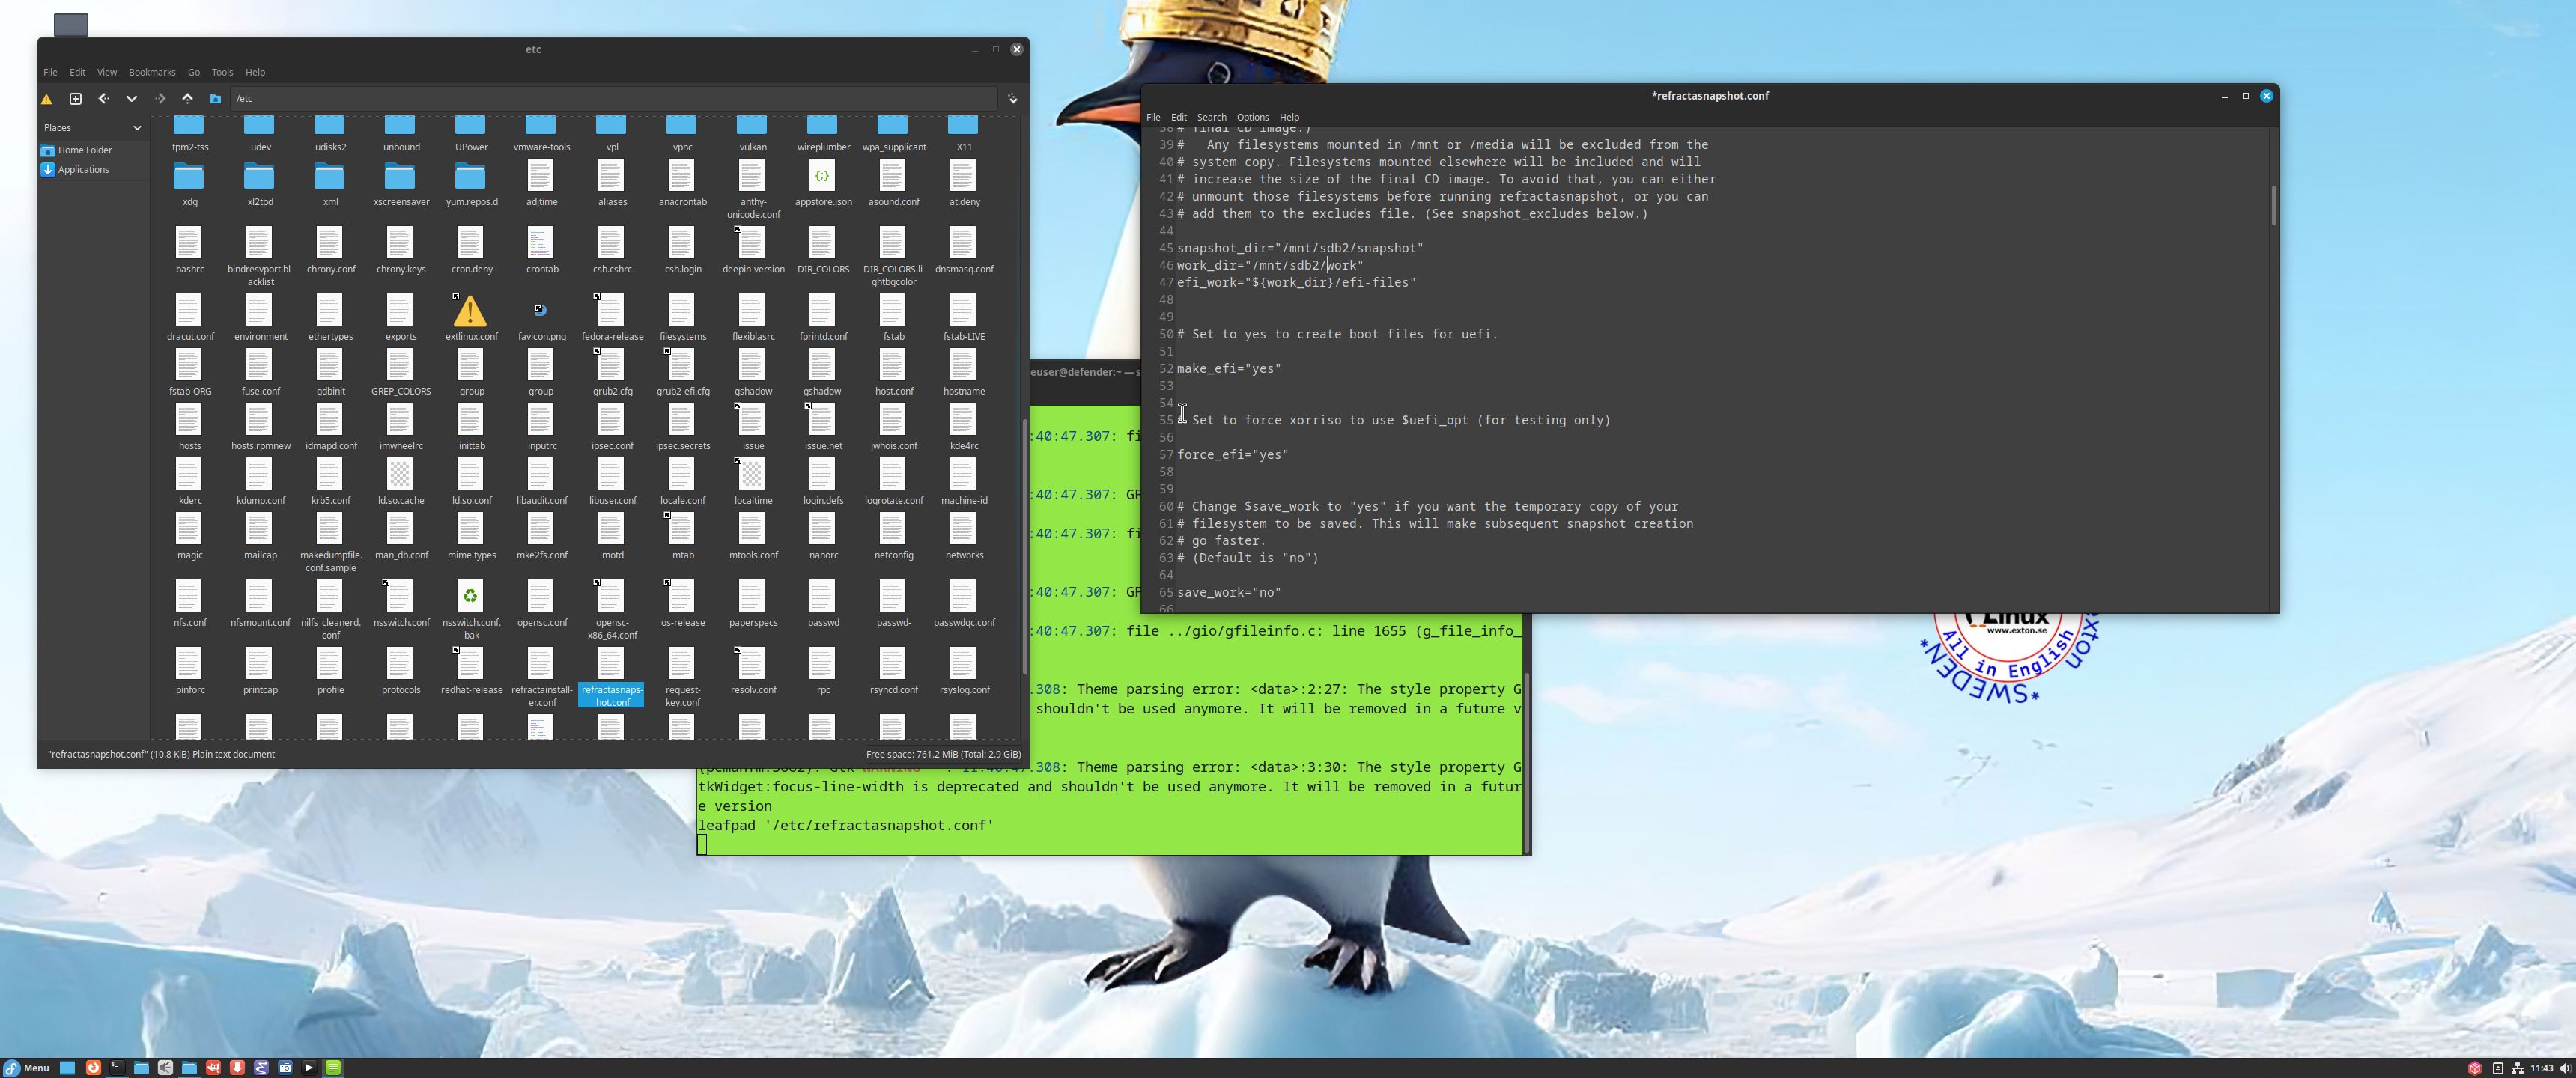
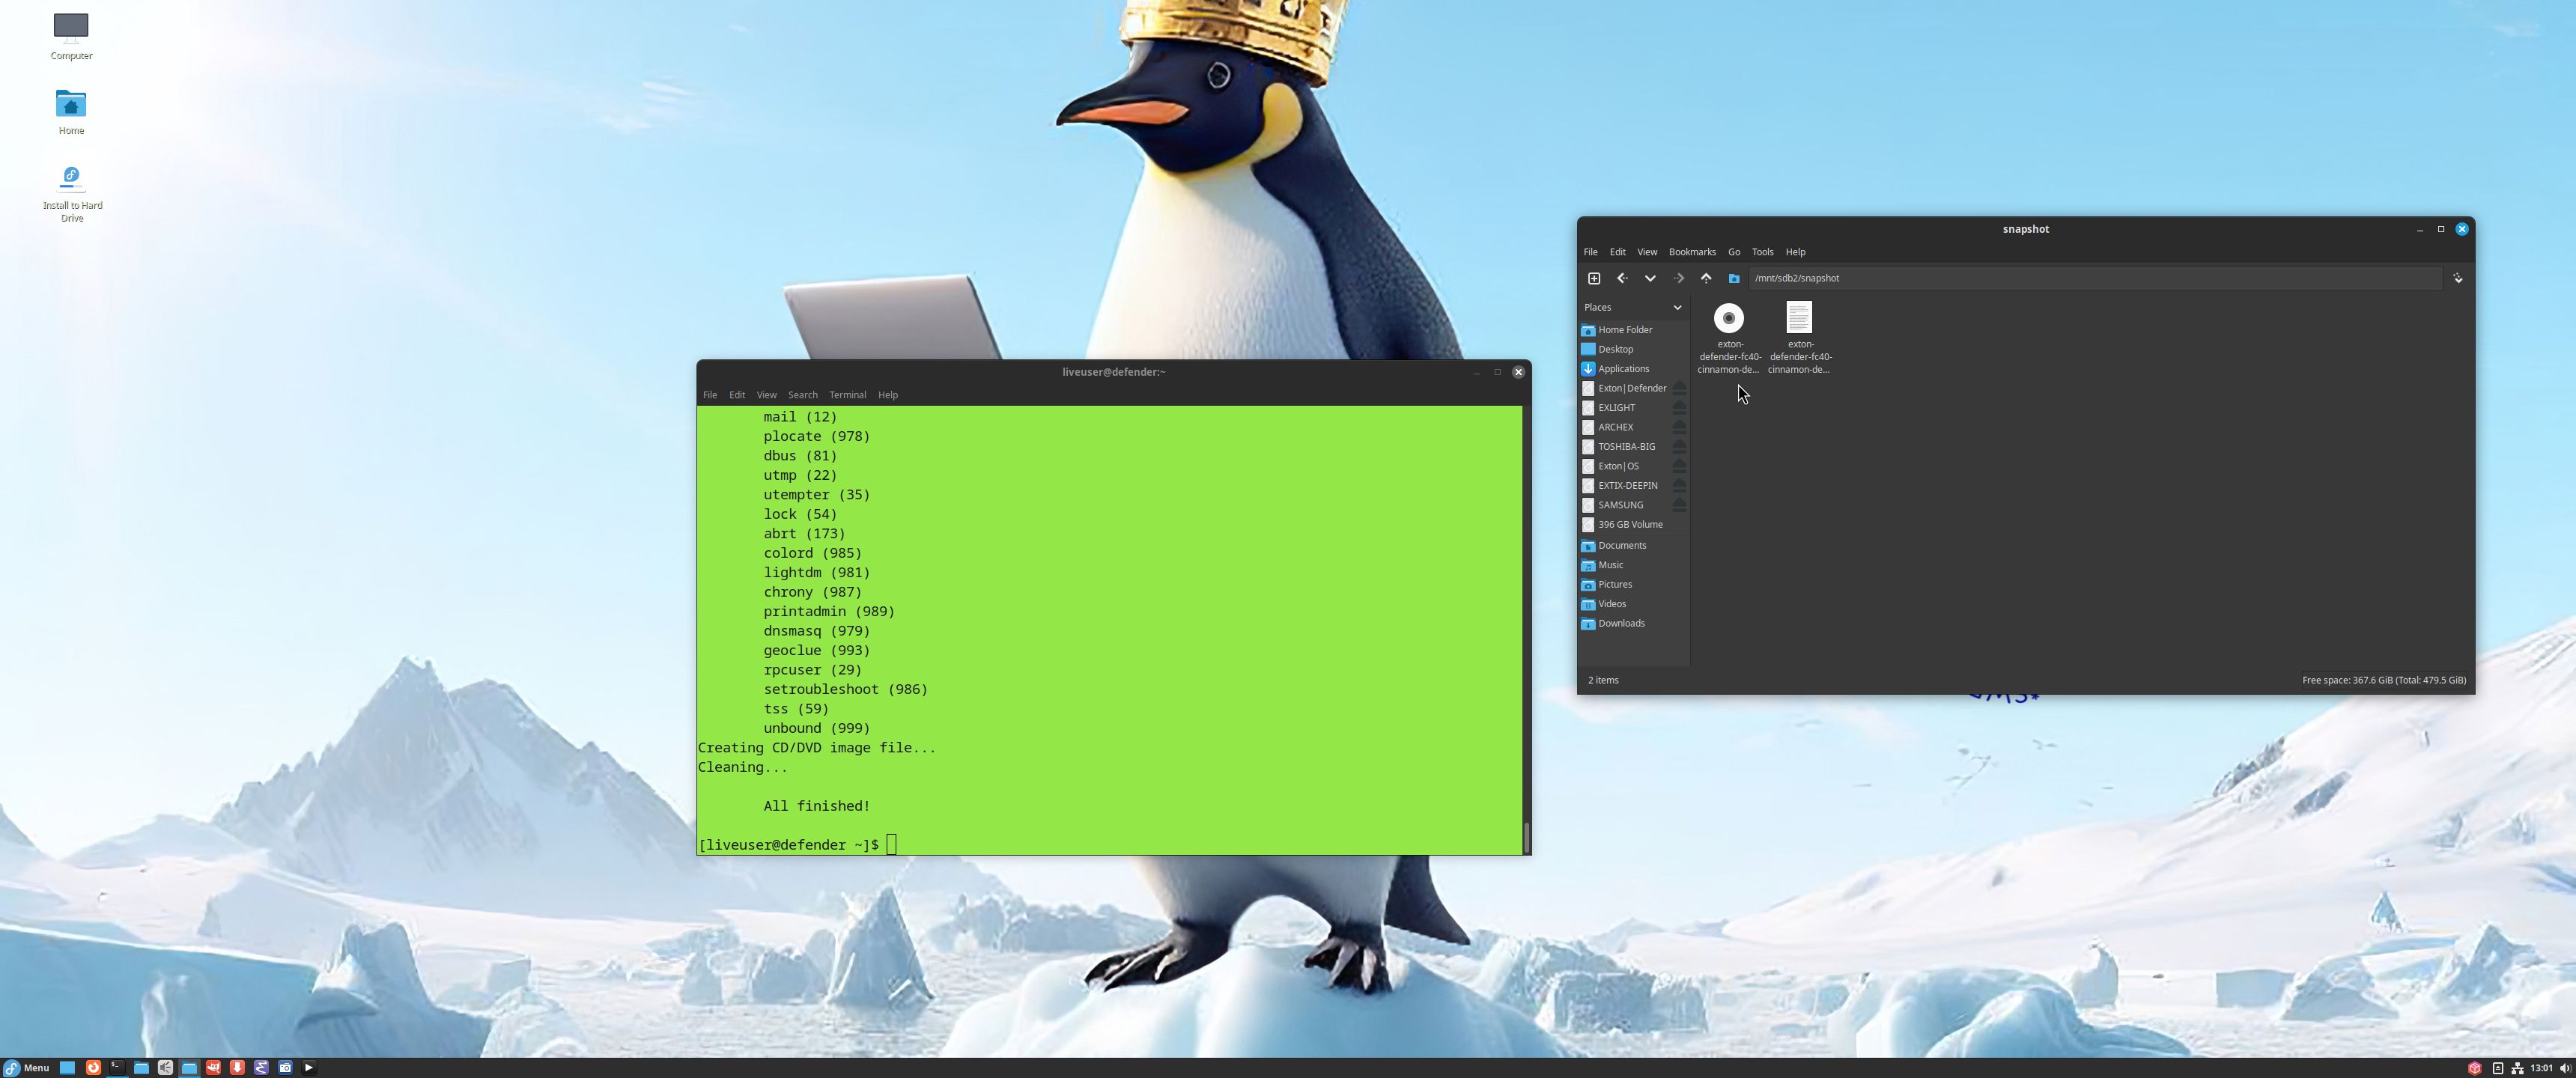
6. Finally you can make a new ISO (your own) if you want. Be sure to change /etc/refractasnapshot.conf first. You must see to that the new ISO file and the work environment will be created on another partition. Watch this screenshot…
7. Start Refractasnapshot in a terminal with the command “sudo /usr/bin/refractasnapshot”. Follow the instructions. After a few minutes your ISO will be ready. Watch this screenshot…
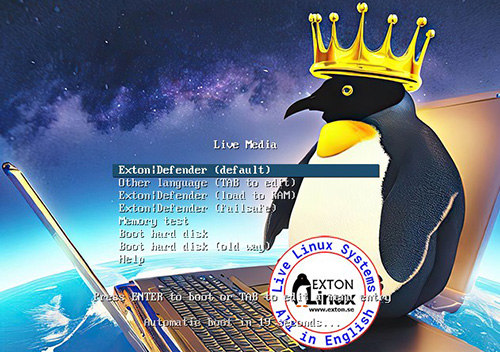
Exton|Defender Boot Screen when booting in Legacy mode from a USB stick.
NOTE 231214: Using Rufus 4.3 to achieve persistence worked perfectly well as regards Exton|Defender Build 231109. As regards Build 231212 it doesn’t work that well for some unknown reason. You can still achieve persistence, but the system will unfortunately run awfully slow. So the first (A) alternative above is the best way to install and run Exton|Defender from a USB stick!
![]()